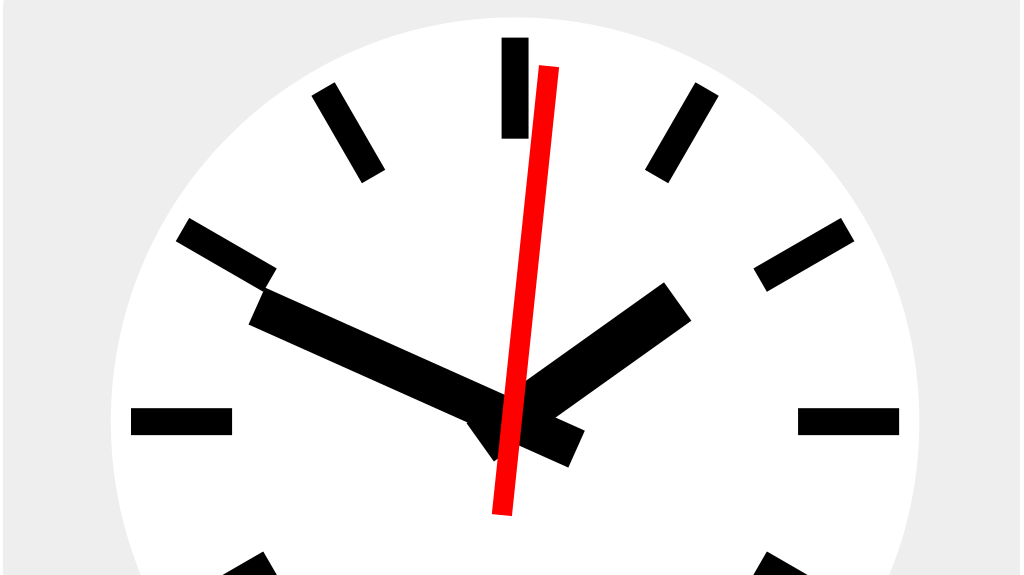
To make an analog clock in JavaScript we only need one thing we didn’t cover in our last tutorial: hands. First, we need a way to draw either a line or a rectangle on the web page. Second, we need to move or animate what we’ve drawn.
To achieve our first goal, drawing a hand, we have two options: a <canvas> element or an <svg> element. <canvas> will give us pixel perfect control of what we’re drawing, whereas an <svg> will allow what we draw to look good at any scale. Since I don’t know what resolution this page will be viewed at, we’re going to use <svg>.
As for our second goal, animating our hand, we’re going to use an SVG-native transform attribute which we’ll get to later.
Oh, and we’re also going to need some 𝕄𝕒𝕥𝕙©
Intro to SVG
We’re going to look at two ways to get our SVG into our HTML. First, the simplest way, by embedding it directly into the HTML. Let’s start with a rectangle 10 units wide by 50 units tall:
<html>
  <head>
    <title>
      Clock
    </title>
  </head>
  <body>
    <svg>
      <rect width="10" height="50" />
    </svg>
  </body>
</html>
Since we haven’t placed any constraints on our <svg> element (we’ll get to that soon), our rectangle should be 10 pixels by 50 pixels, but we could just as easily use percentages instead:
<rect width="10%" height="50%" />Wait a second. Our rectangle looks to be neither 10% of the width nor 50% of the height of our container.
This is because SVG is weird sometimes. By default, SVG elements exist in a 350px by 100px “viewport,” irrespective of its container, so any percentage-based dimensions will be relative to that size.
<rect width="100%" height="100%" />To fix this problem we need to add an attribute to our <svg> element called viewBox. viewBox takes four numbers: an x and a y offset, and a width and a height. It also resizes the width of the “viewport” of the <svg> to that of the containing element. The width and height define how many units are in that viewport’s x and y axes.
So, if we set our viewBox to be 100 by 100, we could take up one quarter of the space with our <rect> like so:
<svg viewBox="0 0 100 100">
  <rect width="50" height="50" />
</svg>
It’s important to note that although viewBox will constrain the <svg> viewport to the width of its container, its height is not similarly constrained.
<svg viewBox="0 0 100 110">
  <rect width="100%" height="100%" />
</svg>
There’s a lot more that we can do with viewBox but for now we’re going to leave it at 100 by 100.
Let’s get back to watch hands. We’ll start with the second hand which is the longest hand, so it should be just under half the diameter of our watch face. It’s also the skinniest so let’s give it a width of 1% and a height of 45%.
<rect width="1%" height="45%" />That’s a fine looking second hand! Now we just need to put it in the center of our clock face. We can do that by adding two more attributes to our <rect> element: x and y. We have been omitting these attributes up until now, but as we may have guessed, they default to 0. With SVG (and most other browser based coordinate systems) (0, 0) is the top-left corner. Let’s change the origin of our <rect> to the center of our clock face.
<rect x="50%" y="50%" width="1%" height="45%" />Now we’re cooking! Notice that SVG draws rectangles starting from the top-left corner, so our second hand is in the 30-second position. If we want to start off in the 0/60-second position, we would have to change the position from which we start drawing our rectangle using the x and y attributes.
<rect x="50%" y="5%" width="1%" height="45%" />The next thing we need to be able to do is rotate our hand. To do this we will use the transform attribute within our <rect> element. transform is a really powerful tool that you can learn more about at MDN, but for our purposes making a clock, we’ll be focusing on the rotate function. In its simplest form, rotate only needs one parameter: the degrees (not radians) the object is to be rotated by.
<rect x="50%" y="5%" width="1%" height="45%"
      transform="rotate(45)" />
Shit. Our second hand didn’t rotate around the center of the clock face. It rotated 45° clockwise around the (0, 0) point in the top-left corner. Thankfully, there’s a solution to this. The rotate function can take two more parameters which define the point to be rotated around. This coordinate should be relative to the size of our viewBox. Since we want to rotate around the center of our clock face, we should select (50, 50) as our point of rotation.
<rect x="50%" y="5%" width="1%" height="45%"
      transform="rotate(45, 50, 50)" />
And that’s about the limit of what we can do without JavaScript. Understand that this is only scratching the surface of what is possible with SVG, but it should be a good primer to get us started. In our next article we’ll be looking at how to programmatically create and change SVG elements.
Up Next: Animating SVG
Reference
